flowchart LR
subgraph T[Requesting Imagery Tiles]
F[[Imagery File]]
C{Tile Cache}
S([GIS Server])
U([End User])
D[(Storage)]
end
O[Other Things]
S --> O
S --> O
S --> O
F --> D & C
S & C <--> D
U <--> S
style T fill:None,stroke:#c0caf5,stroke-width:4px,color:#c0caf5
Serverless XYZ Basemaps
Serving imagery, cheap and lean
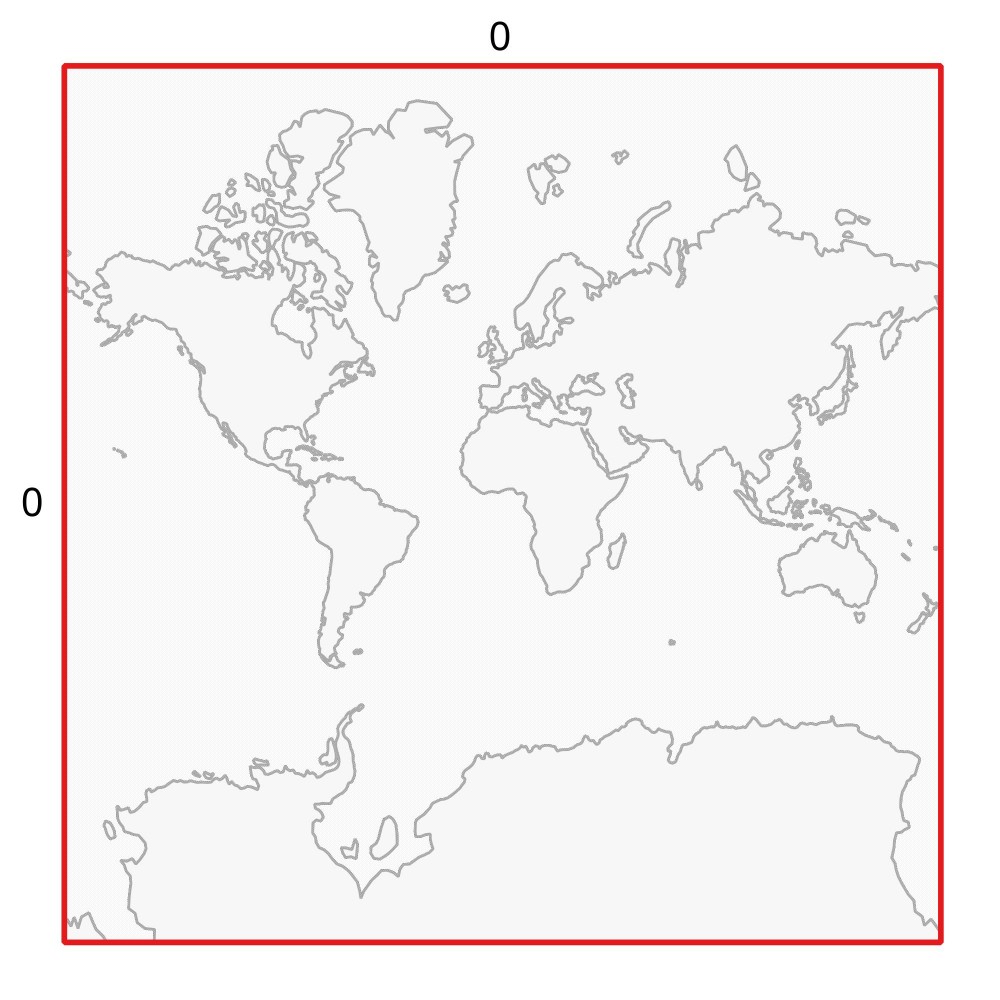
Visual Example: Zoom 0
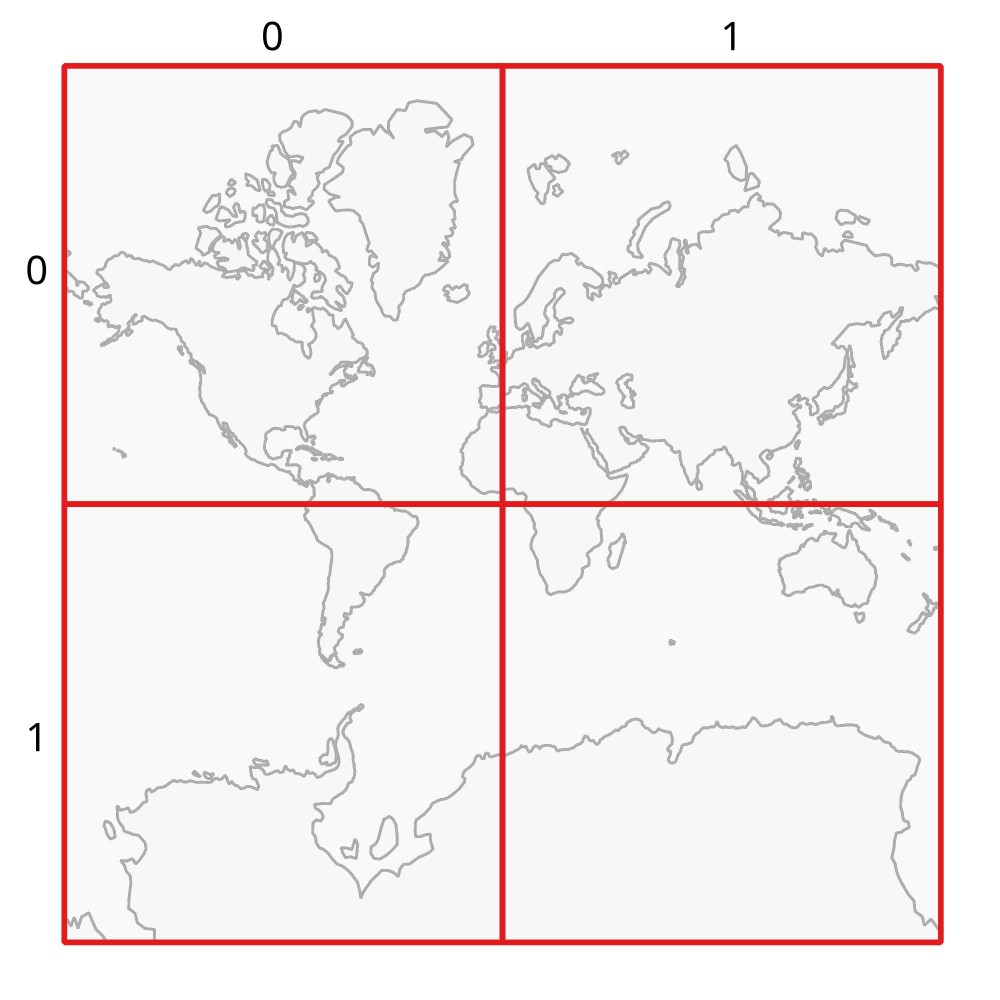
Visual Example: Zoom 1
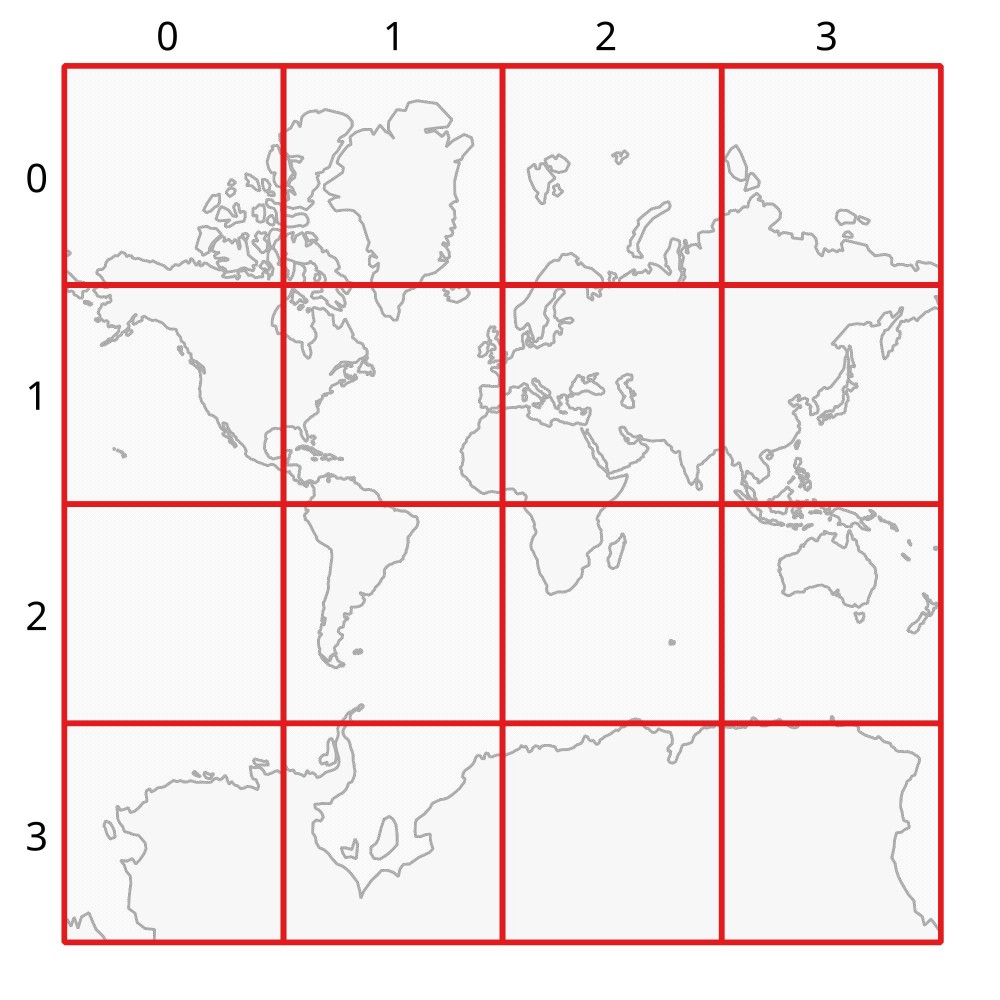
Visual Example: Zoom 2
.
├── 0
|   └── 0
|       └── 0.jpg
├── 1
│   ├── 0
|   |   ├── 0.jpg
|   |   └── 1.jpg
│   └── 1
|       ├── 0.jpg
|       └── 1.jpg
└── 2
    ├── 0
    |   ├── 0.jpg
    |   ├── 1.jpg
    |   ├── 2.jpg
    |   └── 3.jpg
    ├── 1
    |   ├── 0.jpg
    |   ├── 1.jpg
    |   ├── 2.jpg
    |   └── 3.jpg
    ├── 2
    |   ├── 0.jpg
    |   ├── 1.jpg
    |   ├── 2.jpg
    |   └── 3.jpg
    └── 3
        ├── 0.jpg
        ├── 1.jpg
        ├── 2.jpg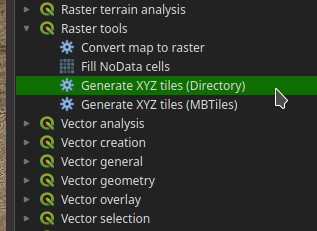
└── 3.jpgGenerate the Tile Cache
- Open QGIS
- Processing Toolbox
- Raster Tools
- Generate XYZ Tiles (Directory)
Parameters
Most defaults are fine, but check:
- Extent: Same as input raster, or other AOI
- Min/Max Zoom: Adjust as needed; For imagery, around 19 is probably fine
- Format and quality
- Output directory: Pick a simple name for the directory, like
2023_imagery
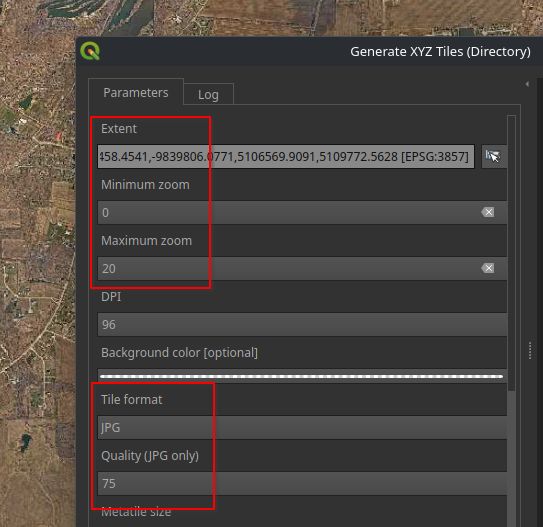
PNG or JPG?
PNG is nice for transparency, but consider whether you really need your imagery tiles to have it. Swapping for JPG and adding even a little compression will make for massive space saving and faster data transfer.
Loading the Tiles
- Create a bucket
- Drag the tile directory and drop it in!
- Wait a long time
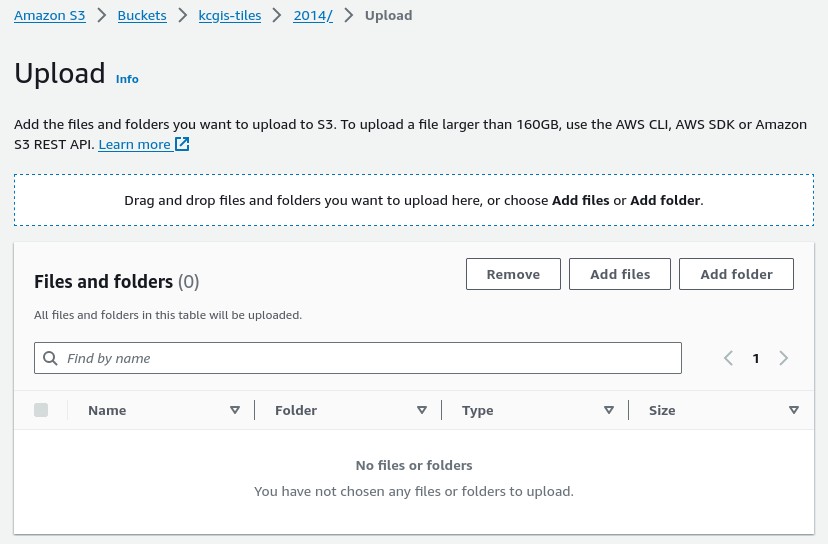
Tip
When loading your files, you can specify which storage class to put them into right from the get-go.
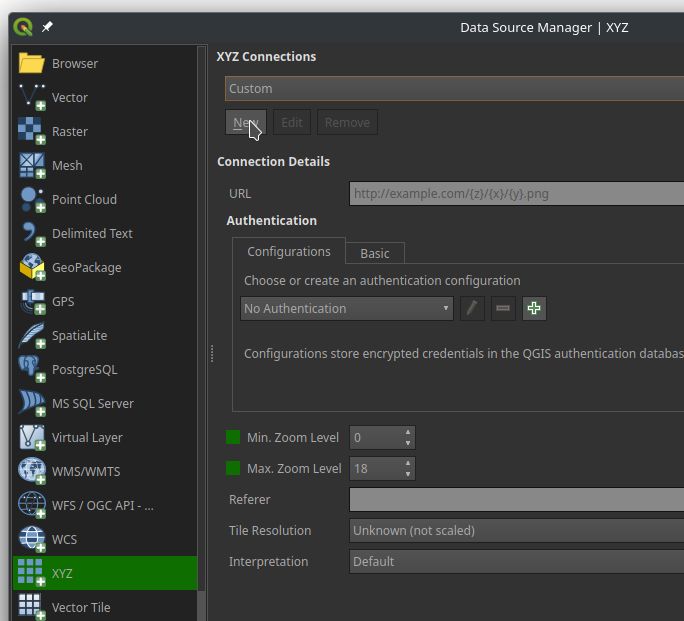
QGIS
- Open the Data Source Manager
- Select XYZ
- Click “New”
- Enter your distribution URL
distribution-url/xyz-directory/{z}/{x}/{y}.jpg1
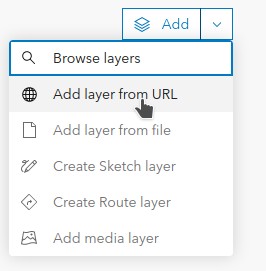
ArcGIS Online
- Open the Map Viewer
- Add a layer by URL
- Same URL as last slide
- Move newly-added layer to your basemap
- Save the webmap, share to your basemap group